
#
Company and User Management
Manage your company profile, invite users, and control access roles — all from the Phoeniqs portal Settings page.
#
Prerequisites
Before setting up your company, make sure you have completed the following:
- Create an Account — you must have an active Phoeniqs portal account before creating or joining a company.
#
Create a Company
#
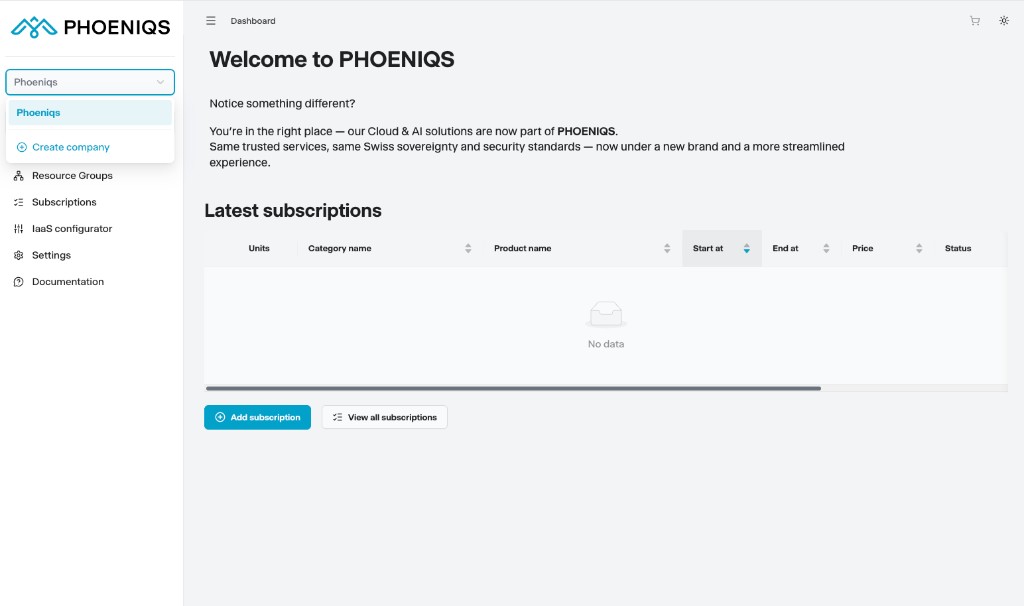
1. Open the company creation screen
On the top left part of the screen, click Create company.
#
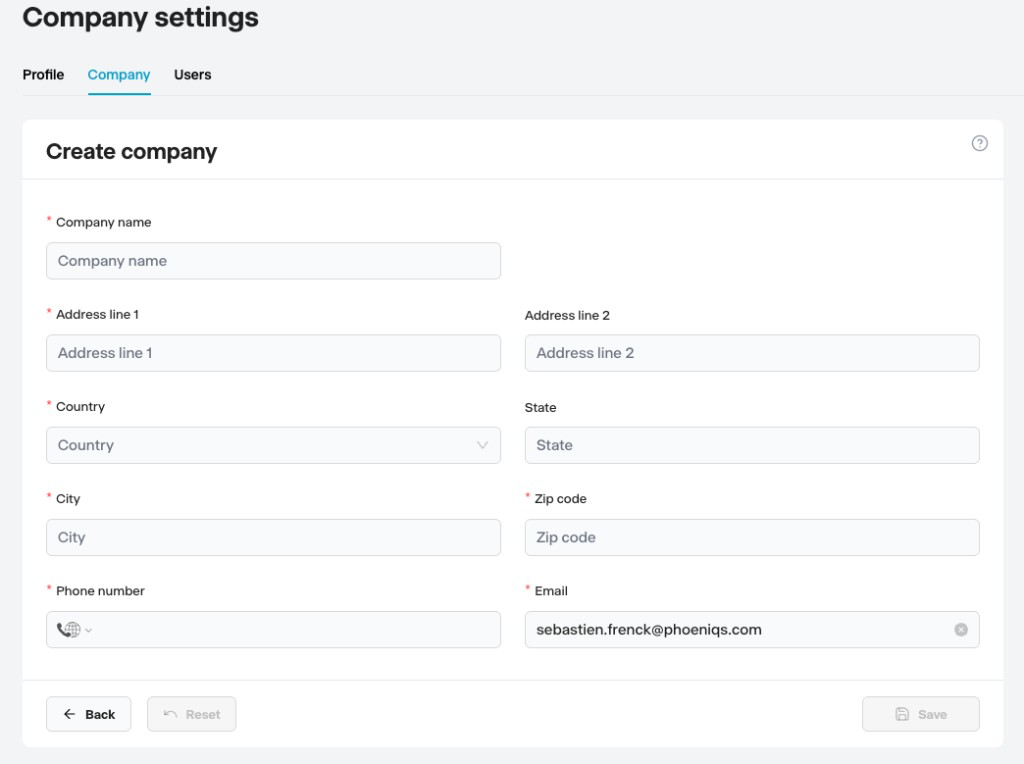
2. Enter company details
Fill in the required fields.
#
3. Save
Click Save to initiate company creation. You will be logged out and must log in again as an authorized user to complete the process.
Phoeniqs runs a security KYC (Know Your Customer) check on every new company. After login, your verification status may remain Pending until it is approved. This usually takes no longer than 24 hours. Paid plans require approved verification; free plans can still be ordered while verification is pending.
#
4. Log back in
Log back in with the account you would like to use.
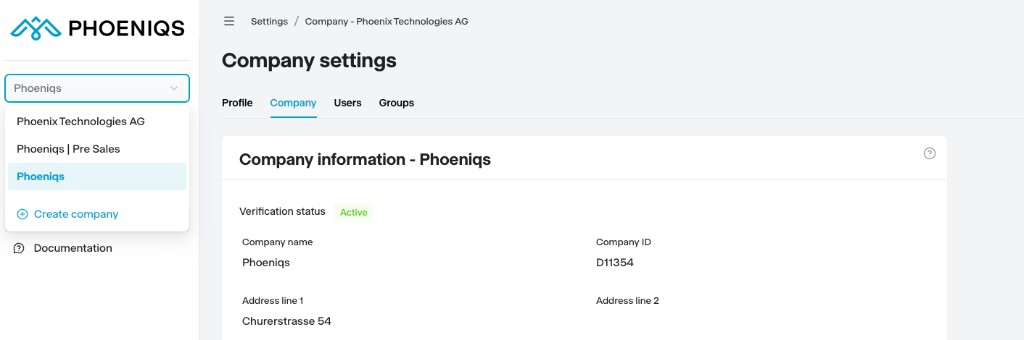
Depending on your use, you can create several companies and switch between them using the toggle on the left side by clicking your company name.
#
Update Company Information
#
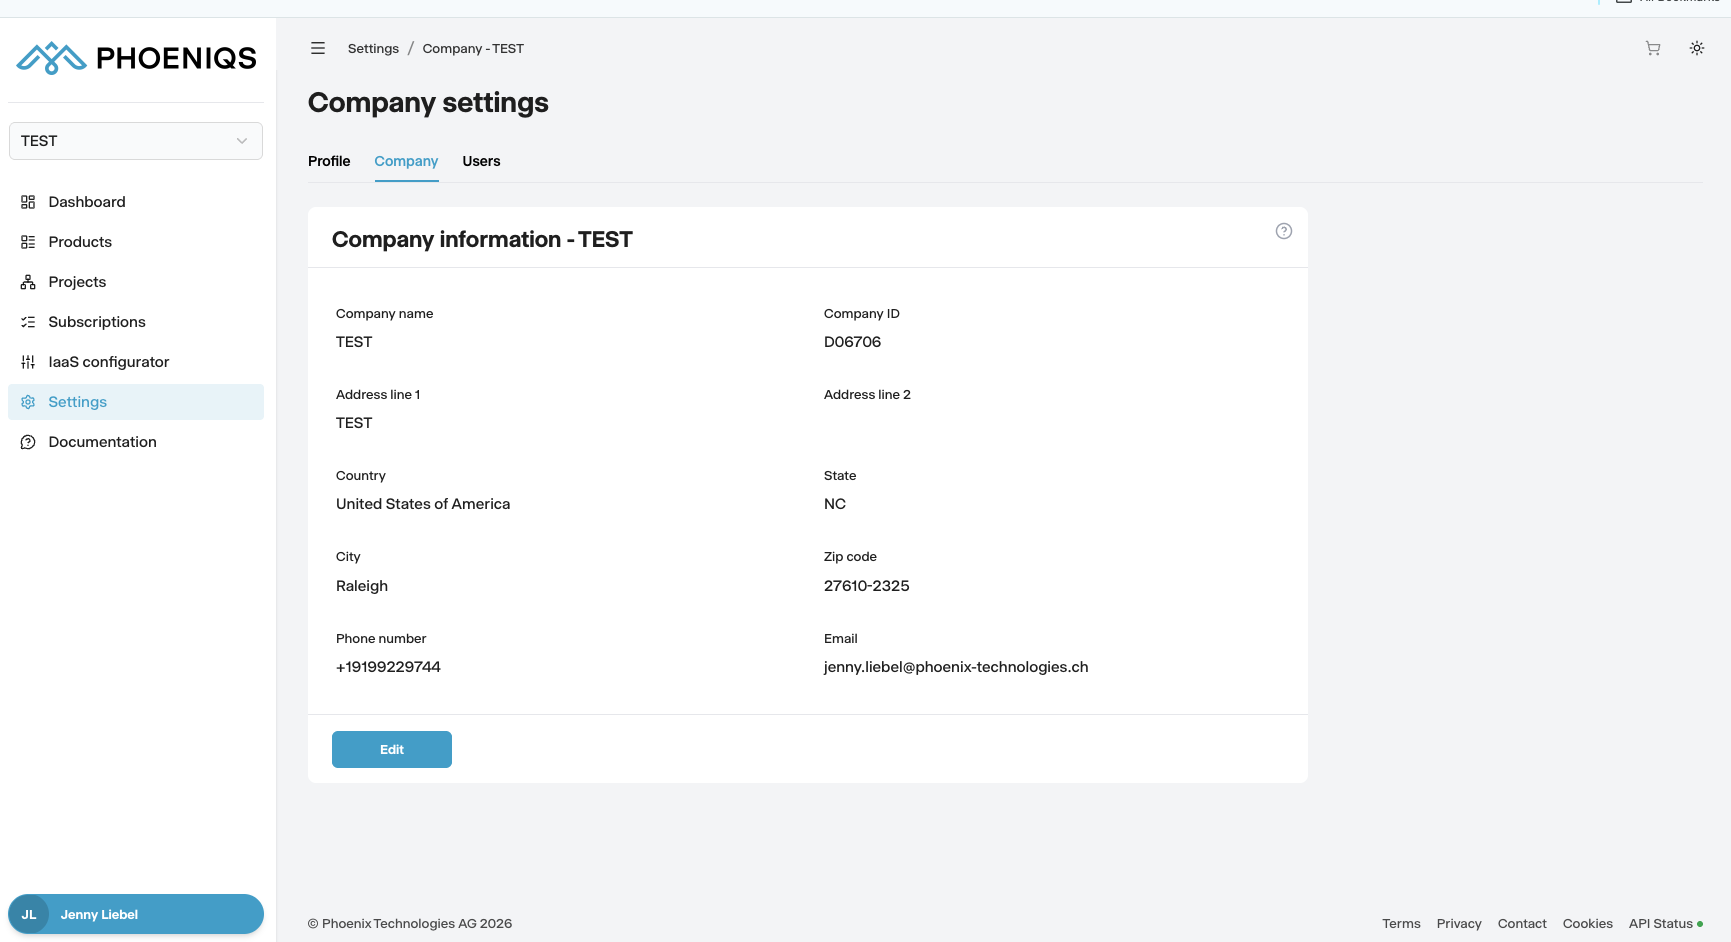
1. Open Settings
Log in and click Settings in the left nav. Select the Company tab.
#
2. Edit your details
Click Edit and update any fields that need correction.
#
3. Save
Click Save to apply your changes.
Note
Company information can be updated or changed at any time. You can also add additional companies to your profile by selecting the company dropdown on the left-hand side, or using the button in the upper-right corner.
#
Add Users to a Company
#
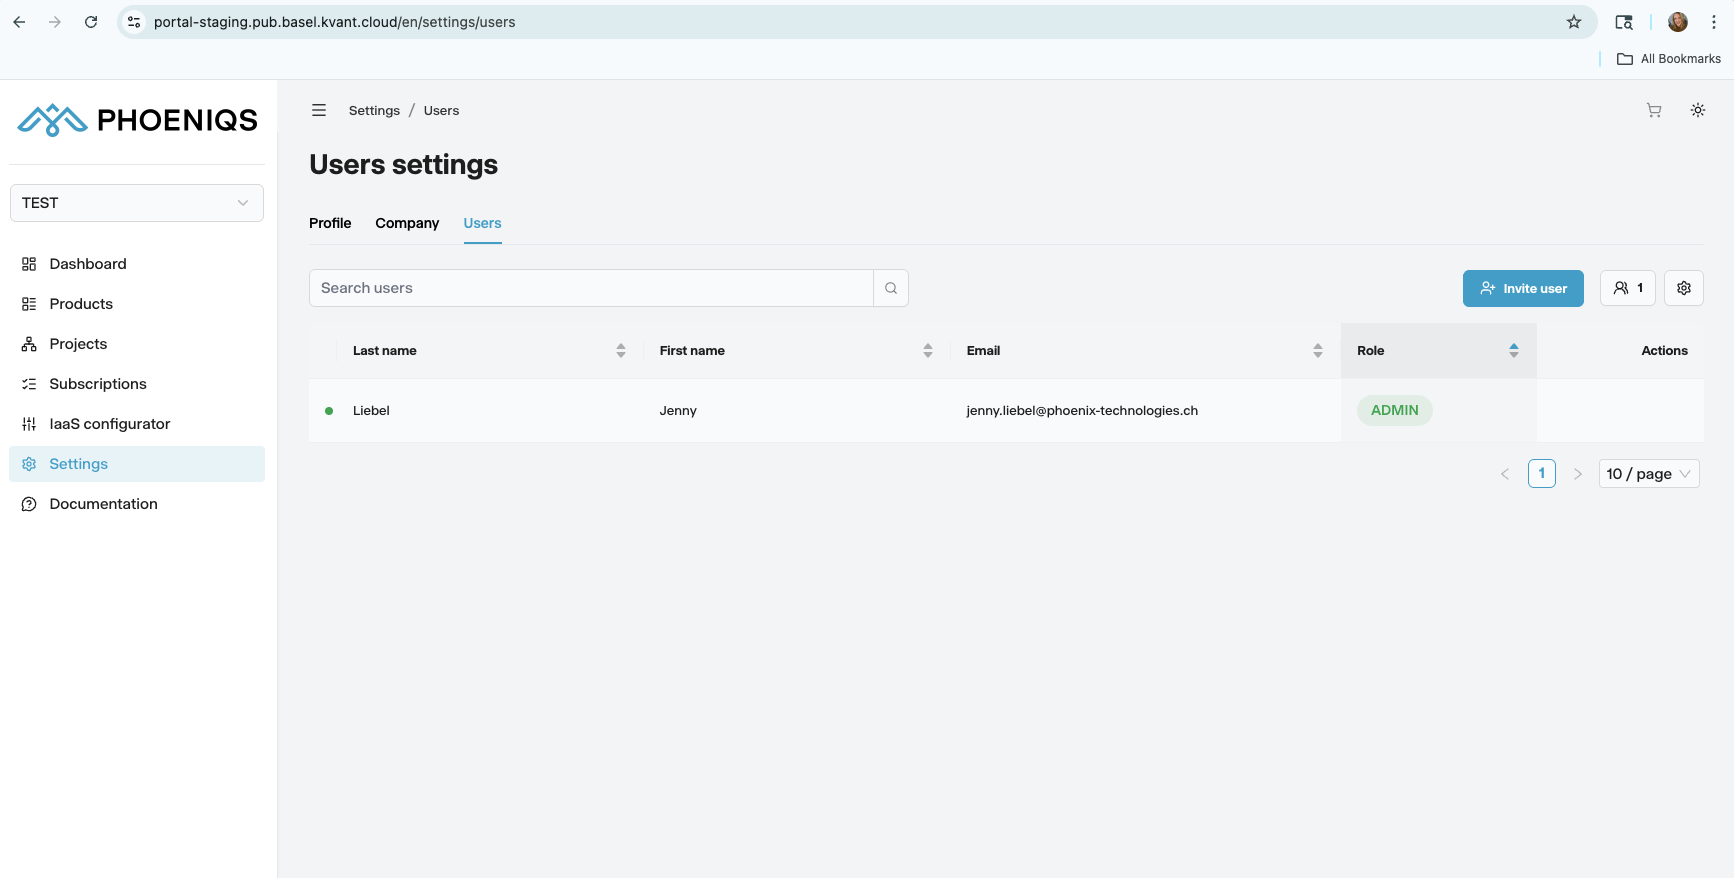
1. Open the Users tab
Log in and click Settings in the left nav. Select the Users tab.
#
2. Invite a user
Click Invite user. In the Company name, First name, Last name, and Email fields, enter the appropriate information.
#
3. Assign a role
In the Role section, select one or more roles for the user. Once the invitation is successful, a summary of the invited user is shown and the new user receives an invitation email.
Note
The new user will need to Create an Account. Afterwards, the portal and its respective products and applications will be accessible.
#
Edit Your Profile
#
1. Open Settings
Log in and click Settings in the left nav. The Profile tab will be displayed.
#
2. Update your details
Edit any fields that need correction, then click Save.
#
Notes
tip Need help?
If you experience any issues or need assistance, please contact support.
#
See also